
Table of Contents
- Why “cat face” kits need extra scrutiny
- Shopping checklist: what to look for on the label and packaging
- Which formats are best for kids cat makeup?
- Ingredient and label guidance (without the fear)
- Patch test and hygiene: the easiest way to prevent problems
- A realistic cat face routine (plus removal that won’t turn into scrubbing)
- When to skip face makeup (and what to do instead)
- Bottom line: how to choose cat face makeup for kids confidently
- FAQs
Cat Face Makeup for Kids: What to Know Before You Buy
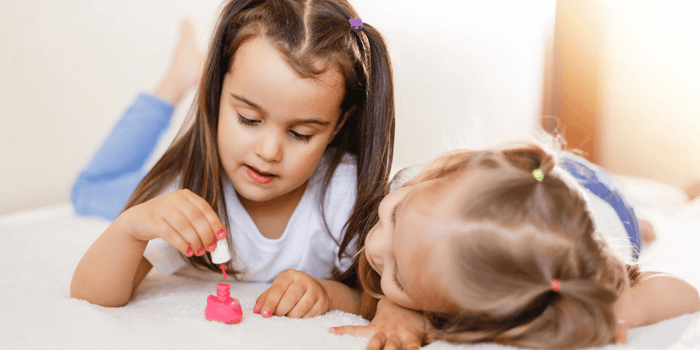
Shopping for cat face makeup for kids sounds simple—until you’re standing in front of a dozen “cute” kits and wondering what’s actually safe, easy to use, and easy to remove. Because this look goes right on sensitive areas (cheeks, nose, and often close to the eyes and mouth), the best choice isn’t just the one with the most colors. It’s the one with clear labeling, kid-appropriate textures, and a routine that won’t turn into a skin-irritation situation or a bedtime removal battle.
This guide walks through practical, evidence-aware shopping criteria for cat face makeup for kids, including what to look for on the label, which formats are usually easier for parents, and how to apply and remove the look with minimal fuss.
Why “cat face” kits need extra scrutiny
A cat look typically uses high-contrast shades (black/gray/brown for whiskers, a pink nose, maybe white highlights). Those shades are often the most likely to smudge, stain, or migrate—especially when kids rub their faces, sweat, snack, and touch everything. This is one reason why choosing the right cat face makeup for kids matters more than many parents initially realize.
Unlike occasional play lipstick, a cat face design may involve:
- More surface area coverage (cheeks and nose), which increases the chance of irritation if the formula is drying or fragranced.
- More line work (whiskers and eyeliner-like details), which can tempt kids to get closer to the eyes than intended.
- More removal friction (scrubbing off black pigment), which can cause redness even when the product itself is fine.
Bottom line: you’re not just buying colors—you’re buying a texture, a removal experience, and a set of ingredients that will sit on a child’s skin for hours.
Shopping checklist: what to look for on the label and packaging
When you’re comparing cat makeup for kids options, prioritize clarity and usability over “extras.” A bigger kit isn’t automatically better if it has vague labeling or impractical tools.
1) Look for a full ingredient list (not just “non toxic kids makeup” on the front)
“Non-toxic” is often used as a general marketing term. What matters is whether the product provides a complete ingredient list and basic use directions. If there’s no ingredient list or the list is incomplete, consider it a pass—especially for a child’s face.
- Prefer: clearly printed ingredients, batch/lot info, manufacturer or distributor details, and basic warnings (e.g., avoid direct eye contact).
- Be cautious with: vague terms like “safe,” “natural,” or “chemical-free” without specifics.
2) Choose fragrance-free when possible
Fragrance can make products smell “fun,” but it’s also a common reason some people experience irritation. For kids, fragrance-free options are often the easiest choice for repeat use. If a kit is fragranced, be extra mindful about patch testing and keeping it away from the eye area.
3) Pay attention to intended use: face paint vs. “toy makeup”
Many parents do best with a product clearly sold as face paint or cosmetic makeup rather than play “toy” sets with unclear standards and tiny, rough applicators. A well-labeled kids makeup kit should include directions for application and removal and should not encourage use on the waterline (inner rim of the eye) or as “edible” makeup.
4) Consider the tool quality (yes, it matters)
Scratchy sponges and stiff brushes can cause redness from friction. Look for:
- Soft, dense sponges for applying base color to cheeks and nose.
- A small, soft detail brush for whiskers and nose outline.
- No glitter fallout near the eyes (loose glitter can migrate).
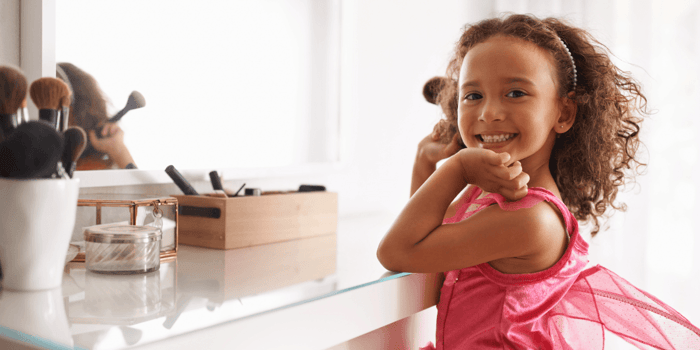
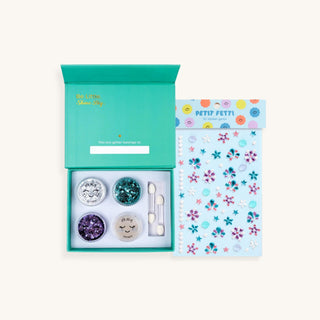
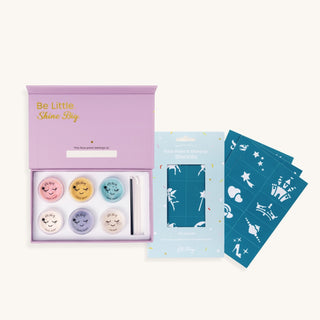
If you're looking for an all-natural makeup option, we highly recommend this option by Oh Flossy. This natural play makeup kit lets little ones explore color and creativity with non-toxic, skin-friendly formulas parents trust.
Each kit includes vibrant loose powder eyeshadows, soft blush, lipstick, and easy-to-use brushes—all housed in a premium magnetic box that’s perfect for gifting.
Natural Kids Play Makeup Kit

$19.99
Looking for a clean beauty gift that’s safe, fun, and worry-free? This natural play makeup kit lets little ones explore color and creativity with non-toxic, skin-friendly formulas parents trust. Each kit includes vibrant loose powder eyeshadows, soft blush, lipstick, and… read more
Which formats are best for kids cat makeup?
The format determines how easy it is to apply, how likely it is to smear, and how hard it is to remove. Here’s a parent-practical overview to help you choose a kids makeup set that will actually get used. The best cat face makeup for kids should be easy to apply, comfortable to wear, and simple to remove at the end of the day.
Cream pots and palettes
- Pros: smooth coverage; good for pink nose and white highlights; often easier to blend.
- Cons: can feel greasy; may transfer if not set; can be less hygienic if multiple kids dip fingers in.
Face crayons or sticks
- Pros: fast; great for whisker lines; minimal mess; easier for parents to control placement.
- Cons: can drag on dry skin; line can be too thick; still needs gentle removal.
Powders (pressed shadow-style pans)
- Pros: less transfer than creams; can be good for soft gray shading on cheeks.
- Cons: fallout risk near eyes; needs brushes; can look patchy on dry skin.
Stickers, temporary tattoos, and stencils
- Pros: quickest; minimal pigment; helpful for whiskers and nose shapes.
- Cons: adhesives can irritate some skin types; edges may lift; removal can pull if not softened first.
If you’re buying kids cat makeup for beginners, a simple combo often works best: a pink cream for the nose + a black face crayon for whiskers + optional stencil. Fewer steps usually means fewer smudges.
Ingredient and label guidance (without the fear)
It’s not realistic—or necessary—to memorize every cosmetic ingredient. Instead, use a practical approach: confirm you have a full list, avoid known personal triggers, and patch test when appropriate.
Common sense flags to double-check
- Unlabeled pigments or “proprietary color blend” with no detail: you want transparent labeling, especially for dark shades used around the mouth and nose.
- Strong fragrance or essential oil-heavy formulas: these can be more irritating for some kids.
- Loose glitter: skip near eyes; opt for larger, adhered embellishments placed on cheeks only, if you use any at all.
- Products marketed as “for all ages” but with tiny parts: tool choking hazards aren’t a cosmetic issue, but they matter in kids kits.
Also consider the context of use: birthday parties and school events often involve longer wear time, heat, and activity. A gentle, clearly labeled product plus a good removal plan is more important than extreme staying power.
Understanding which ingredients deserve extra attention can make shopping for kids' cosmetics much easier. The Truth About Harmful Beauty Ingredients for Kids explains the additives, fragrances, and preservatives many parents choose to avoid in children's beauty products.
Patch test and hygiene: the easiest way to prevent problems
Even with well-labeled products, skin can be reactive—especially on kids. Whether you're using a face paint palette or a beginner-friendly kit, patch testing cat face makeup for kids can help prevent unexpected irritation. That’s why it’s smart to patch test when trying a new kit, particularly if your child has sensitive skin or you’re buying a more pigmented palette.
How to patch test (simple version)
- Apply a small amount of the product to a small area like the inner forearm (or behind the ear if you prefer).
- Let it dry and leave it on for a reasonable period (for example, through the day).
- If you notice irritation, discontinue use and choose a different product.
Hygiene rules that keep kits usable
- No shared eye products (even in kids kits). For face paint used on cheeks/nose, avoid double-dipping: use clean tools.
- Wash hands first and keep hair clipped back to reduce smearing.
- Use clean sponges/brushes each time; wash and fully dry tools after use.
- Don’t apply on broken or irritated skin (scrapes, windburn, active rash).
These habits matter as much as the product you choose—especially with cream pots that can pick up bacteria when used with fingers.
A realistic cat face routine (plus removal that won’t turn into scrubbing)
This is a parent-friendly approach that looks cute in photos and is achievable even if you’re not a face-paint expert. The goal is minimal product, clean lines, and easy removal.
Prep (2 minutes)
- Clean, dry skin: remove sunscreen residue and snacks first so pigment applies evenly.
- Light moisturizer if needed: if your child’s skin is dry, a thin layer can help crayons glide. Let it absorb before painting.
Step-by-step application
- Pink nose: dab a small amount of pink on the tip of the nose (keep it on the nose, not inside nostrils). Soften edges with a sponge.
- Nose outline (optional): with a black crayon or small brush, lightly outline the pink shape. Keep lines thin.
- Whisker dots: add 3 small dots on each side above the smile line (avoid corners of the mouth).
- Whiskers: draw 2–3 short whisker lines per side, starting near the dots and moving outward. Shorter lines look cleaner and smear less than long lines.
- Soft cheek shading (optional): a touch of gray/brown powder on the outer cheek can add dimension, but skip if your child tends to rub their face.
Keep it comfortable during wear
- Avoid the waterline and lash line—cat looks don’t need eyeliner on kids to read as “cat.”
- Pack blotting tissues for parties: dabbing (not rubbing) fixes smudges.
- Snack strategy: keep heavy pigment away from lip edges so eating doesn’t smear it immediately.
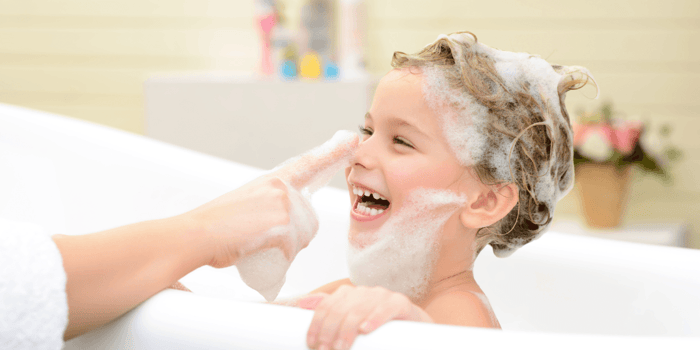
Removal (the gentle way)
Dark pigments can take more than one pass. The trick is to dissolve first, then wipe—rather than scrubbing.
- Soften: hold a warm (not hot) damp cloth on the face for 10–15 seconds.
- Cleanse: use a gentle face cleanser or a mild makeup remover appropriate for kids; wipe in downward strokes.
- Repeat if needed: especially for black whiskers.
- Rinse and moisturize: a simple moisturizer can help after cleansing, particularly in cold weather.
If you’re using stickers or temporary tattoos, soften with cleanser or warm water first and peel slowly to reduce tugging.
When to skip face makeup (and what to do instead)
Sometimes the best call is to avoid facial cosmetics altogether—like when your child has very sensitive skin, you’re short on removal time, or the event rules don’t allow face paint. While cat face makeup for kids can be a fun choice for parties, costumes, and school events, it isn't always the best option for children with highly sensitive skin.
Easy alternatives that still deliver “cat” energy:
- Cat ear headband + a simple outfit in black/gray.
- Whiskers on a mask (paper or fabric), so nothing sits on the skin.
- Single-detail approach: just a small pink nose (less pigment, easier removal) instead of full cheeks and whiskers.
These options can be especially helpful for younger kids who rub their faces frequently or dislike the feeling of product on skin.
Parents looking for safer cosmetic options beyond face paint may also enjoy The Ultimate Guide to Non-Toxic Play Makeup for Kids, which covers age-appropriate makeup choices, ingredient considerations, and safer alternatives for creative play.
Bottom line: how to choose cat face makeup for kids confidently
The best cat face makeup for kids is the one that’s clearly labeled, fragrance-light or fragrance-free, easy to apply with soft tools, and easy to remove without scrubbing. Look for a full ingredient list, avoid loose glitter near the eyes, and choose formats that match your child’s comfort level (crayons and simple creams are often the most practical). Check labels, do a patch test when appropriate, and keep the design simple—because the cutest cat face is the one your kid can wear happily and wash off calmly. By focusing on safety, simplicity, and easy removal, parents can choose cat face makeup for kids that delivers fun results without unnecessary stress or skin concerns.
For a complete guide on non-toxic play makeup, check out our in-depth resource: The Ultimate Guide to Non-Toxic Play Makeup for Kids for expert tips, product recommendations, and everything you need to know about choosing safe beauty play products for your child.
About the Author: This article was written by the contributing writers at Popsicle Beauty Club—a team of moms, educators, and clean beauty advocates passionate about creating a safer, more imaginative world for kids. We believe in empowering parents with trusted information and offering fun, non-toxic beauty and personal care products that let children play, express, and explore—without compromising their health.